
Hey everyone,
Today i’m going to show you a quick and easy tutorial on how to create a Watercolor Nail Art using OPI Sheer Tints.
This look is effortless and artsy, perfect for us girls who love abstract prints and have fun playing with colors! Just like with watercolors, it’s good to relax, switch off your inner perfectionist and let the magic come together on its own 🙂
Easy Watercolor Nail Art using OPI Sheer Tints
I wanted to try a watercolor nail art technique for a long time now and when OPI came out with their Sheer Tints, i was wondering whether it’s going to be a perfect tinted polish to make it easy to achieve. I’m very excited to say that indeed it couldn’t be any better and having tried them out, i’m already full of other ideas on how to use these guys! They are so easy to work with!
OPI Sheer Tints are the new creation from OPI that you can use to add another dimension to your existing nail polishes, or create a variety of nail art looks with. These tints look amazing for watercolor nails, layering, glitter sandwiches, washes and gradients.
OPI Sheer tints come in 4 shades:
- OPI NTS04 I Can Teal You Like Me – blue
- OPI NTS02 Don’t Violet Me Down – purple
- OPI NTS01 I’m Never Amberrassed – yellow
- OPI NTS03 Be Magentale With Me – pink
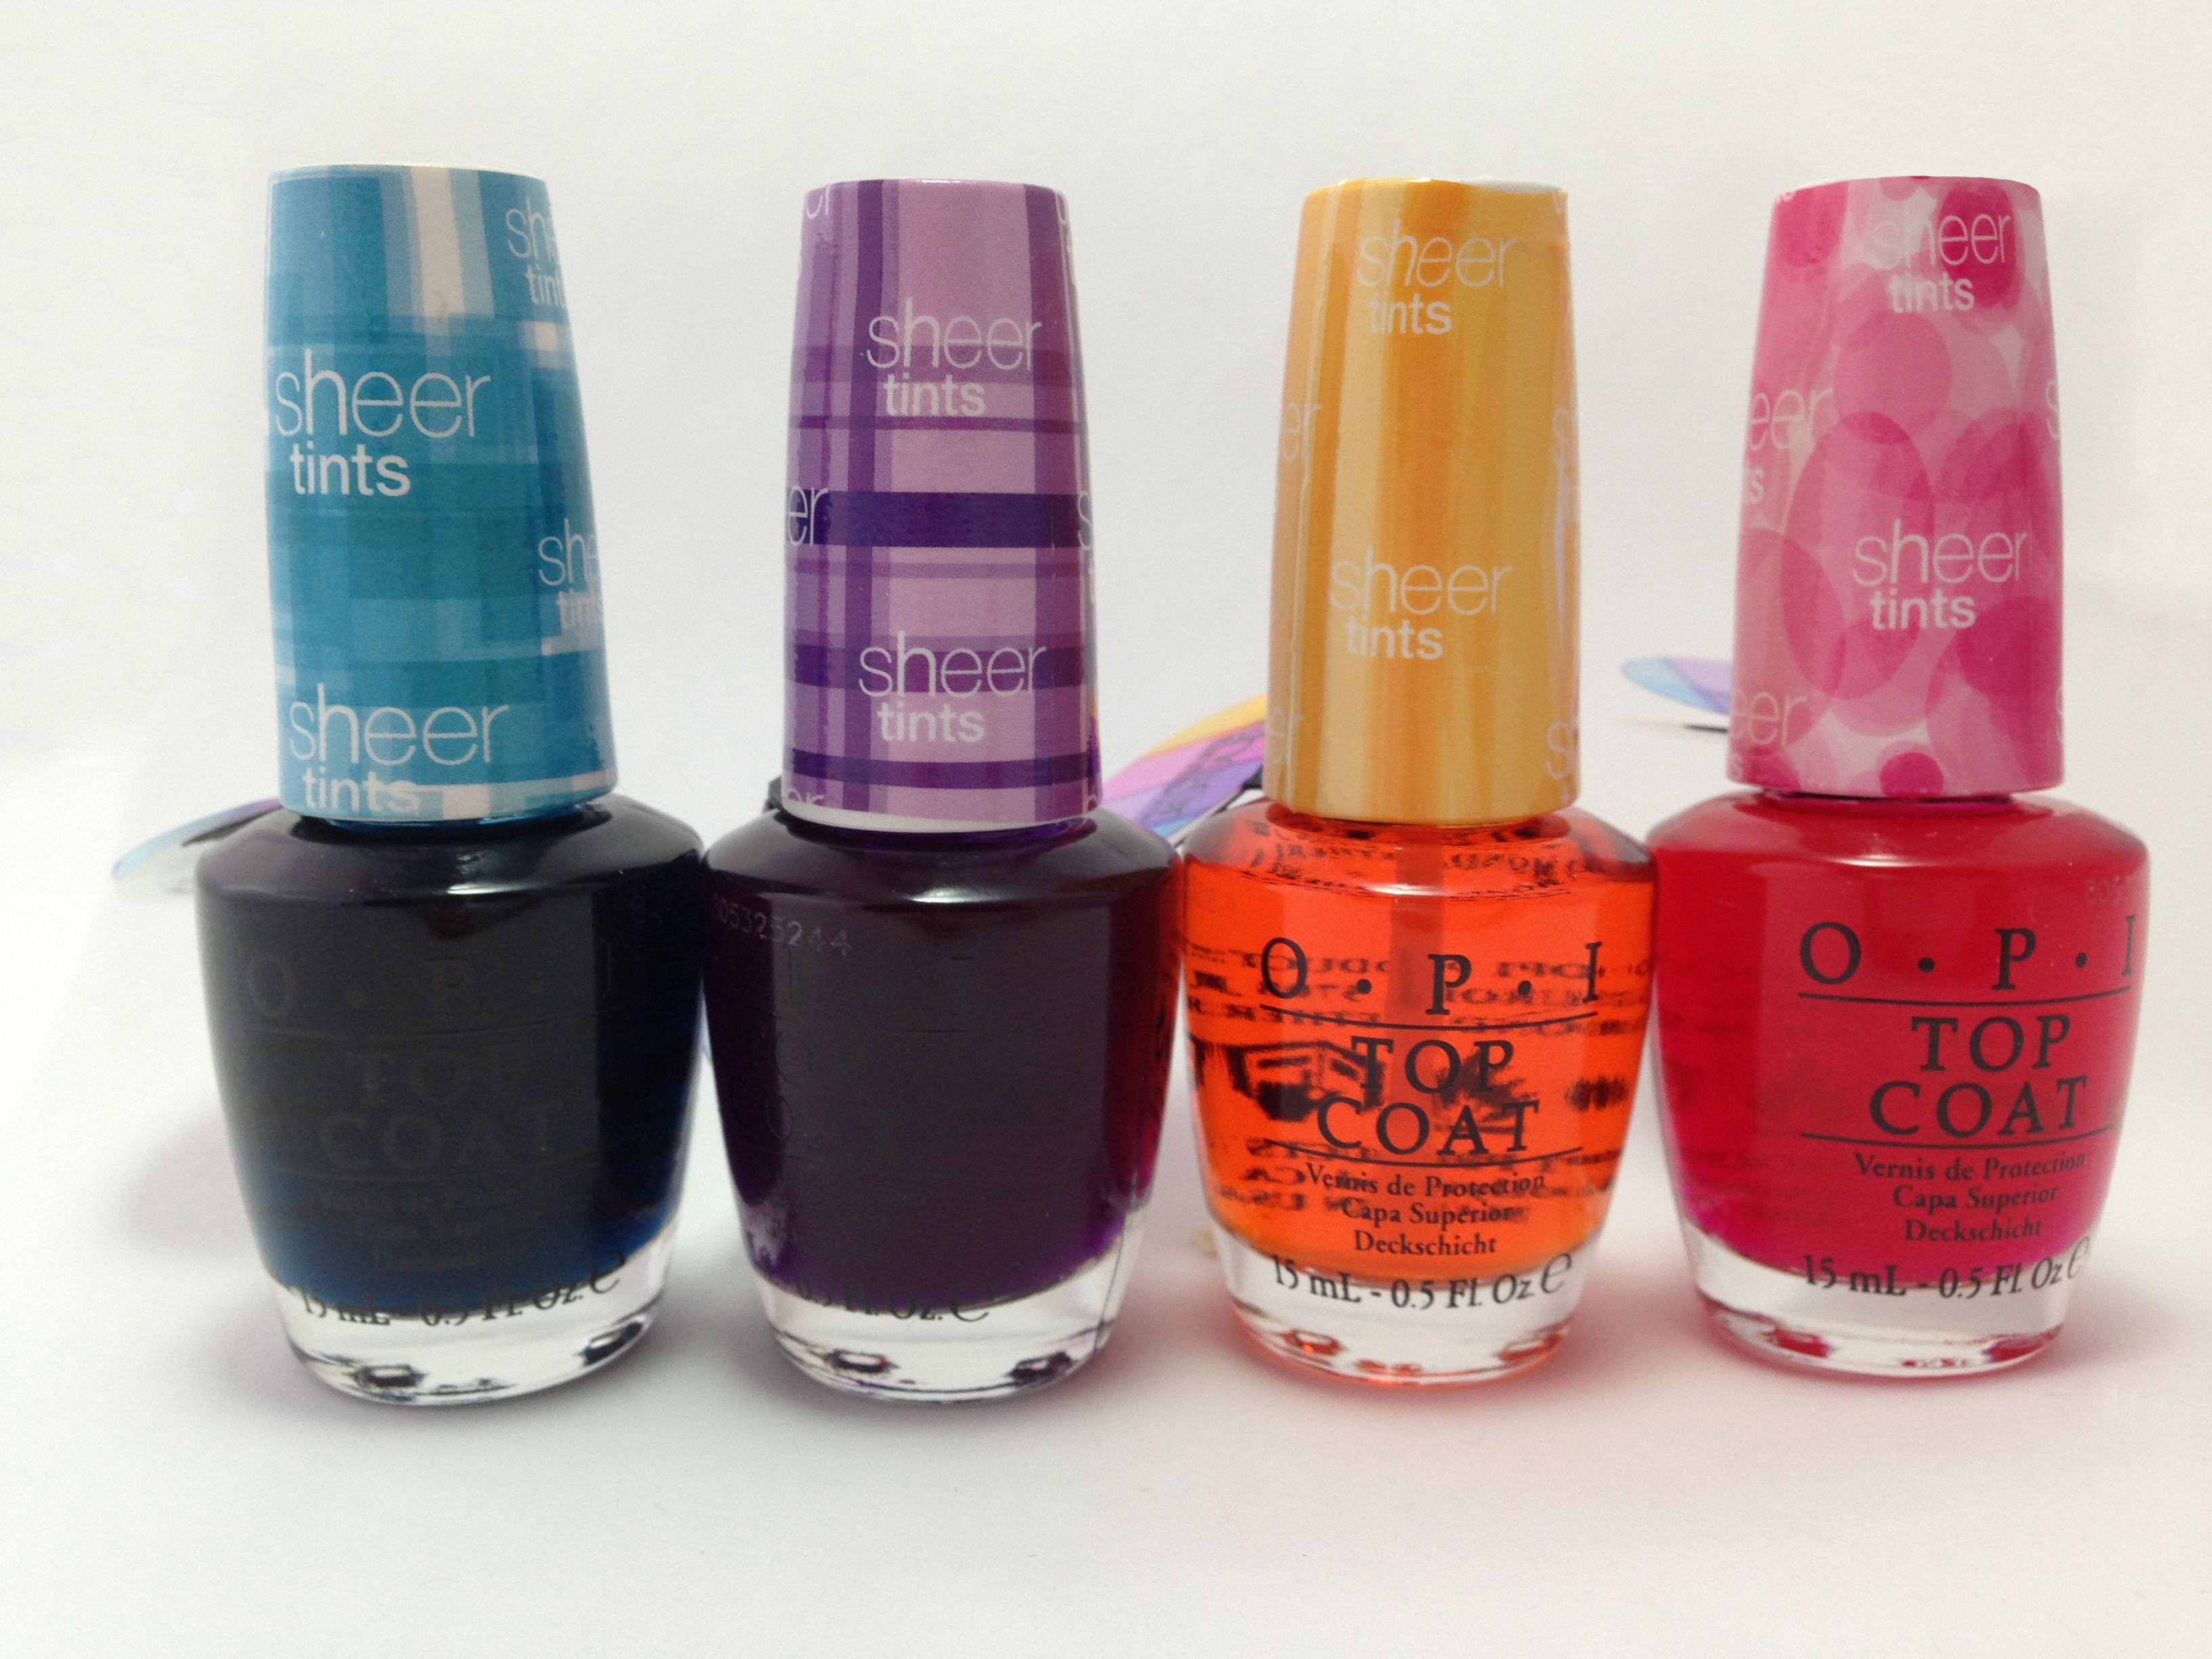
OPI Sheer Tints Full Collection
The best part about them is that the base of these polishes is clear, with a color that creates more of a wash, than a clear sharp presence. Also, it’s very pleasant to see how these shades overlay and blend together to create new colors. If you are a fan of pastels, definitely start off with a nice opaque coat of white base color. Or you can also try different colors of nail polish to see what happens if you layer the OPI Sheer Tints on top of them. There’s really no right or wrong way to play with them, it all comes down to your imagination and curiosity. Unlike pastels, that can be streaky and pasty, OPI Sheer Tints apply and blend themselves to create beautiful airy finishes and they are very buildable.

OPI Sheer Tints Swatch Closeup
The sheer tints dry to a high-gloss finish, although i find that applying a generous amount of top coat brings the colors together and creates more of a finished look.
My favorite part of working with the sheer tints is that cleanup is virtually non-existing. Since these colors have a clear base, it feels almost like wiping some extra top coat off your cuticles. Not messy at all 🙂
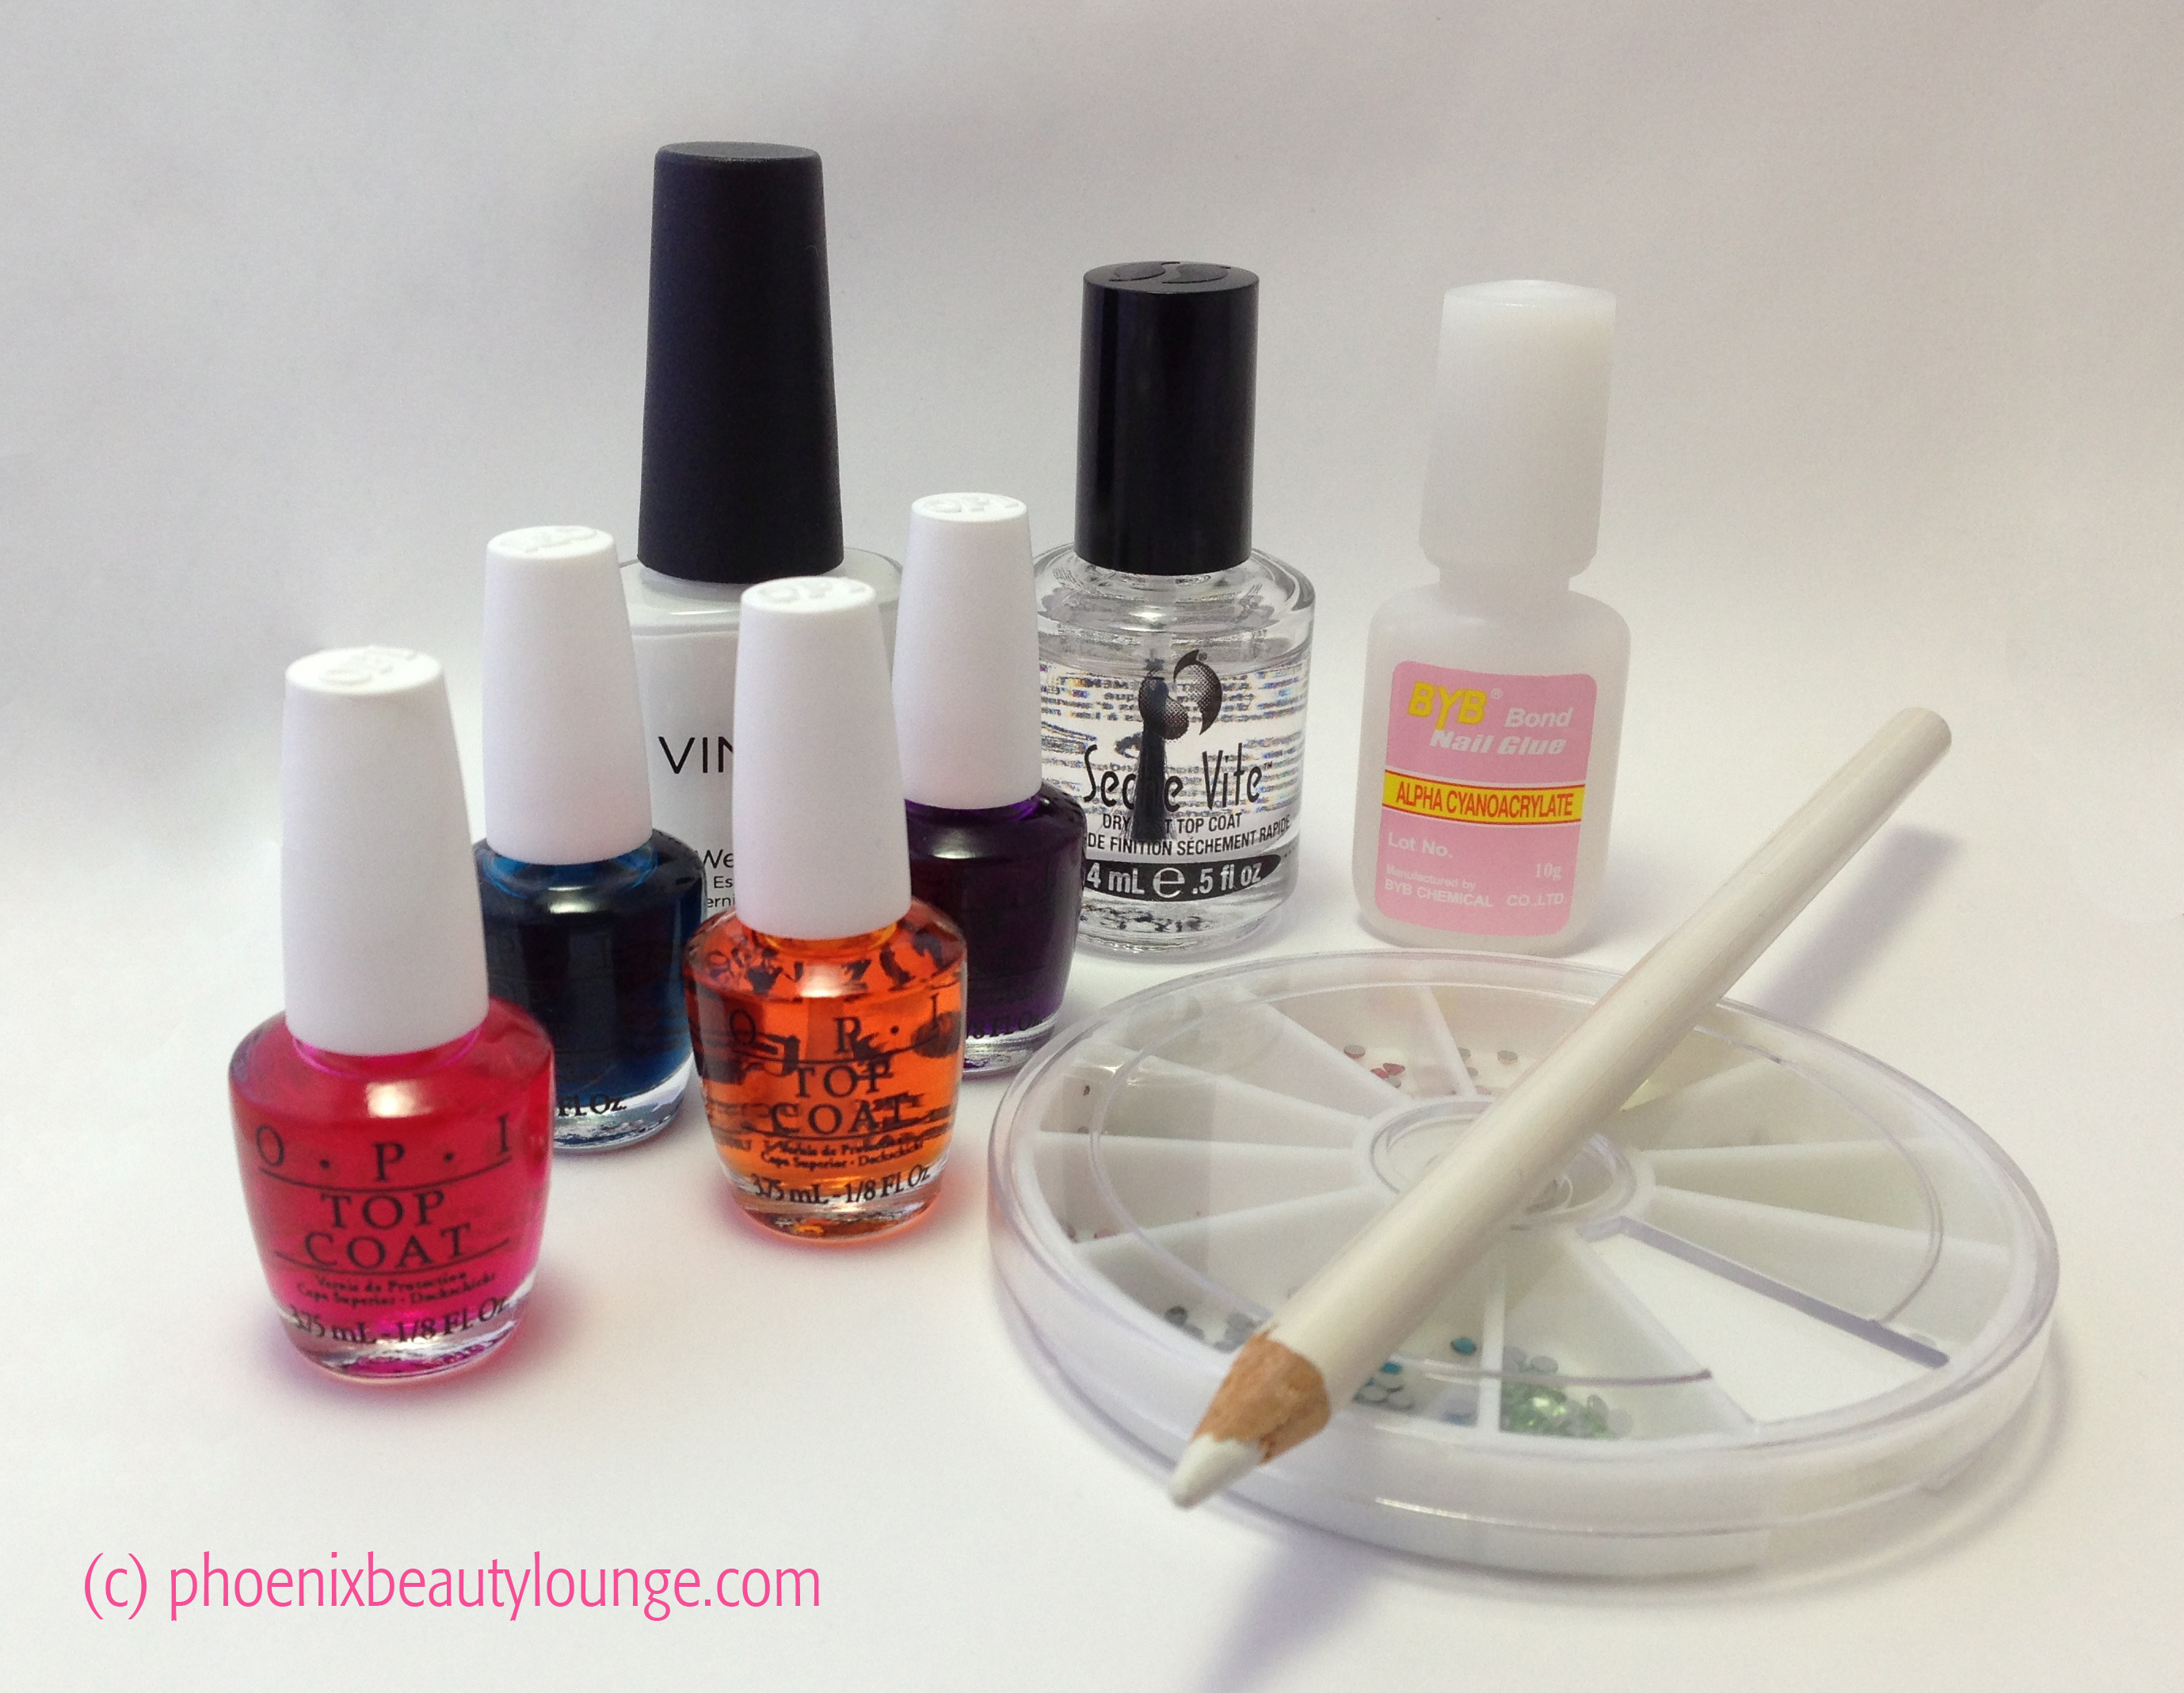
OPI Sheer Tints Watercolor Supplies
Here are the supplies i used to create this Watercolor Nail Art look:
- OPI Sheer Tints mini pack
- CND Vinylux Cream Puff
- Rhinestone picker pencil
- Nail Glue, 10G
- Seche Vite Top Coat
- Nail Art Rhinestones
So let’s get started!

Watercolor Nail Art Tutorial: Step by Step
1. Start off with your favorite base coat and an opaque white color. I personally used Essie Millionails and CND Vinylux Cream Puff, since these are my favorites and CND Vinylux indeed makes this nail art design last longer. Might as well, right? 🙂
2. Apply one stroke of OPI Sheer Tint yellow color – OPI NTS01 I’m Never Amberrassed – straight from the bottle with the polish brush. You can place this stroke anywhere on the nail, so experiment with different starting colors and placement ideas on different nails to add a more spontaneous feel to the look.
3. Apply one stroke of OPI Sheer Tint blue color – OPI NTS04 I Can Teal You Like Me – to overlap the yellow. Note the green shade in the overlapping area 🙂
4. and 5. Keep adding more strokes overlapping different areas of the design. You can definitely work with the tints “wet or dry”. Both methods work well, but i applied them wet, because i didn’t have the patience. Also, I didn’t leave the white space at the tip, but if you like the idea, feel free 🙂
6. Finish it off with a layer of Seche Vite Top Coat to protect your design and make it more even. Attach a rhinestone to the base of the nail with the nail glue to complete the look.
All of the supplies used in this tutorial are available from http://www.phoenixbeautylounge.com. You can buy OPI Sheer Tints online at http://phoenixbeautylounge.com/opi-sheer-tints-top-coats/.
Hope you liked the idea and will give this design a try! If you do, please send us a comment or a photo on our Facebook page.
Thank you and take care,Liliana

I’ve been wanting to check out looks created with those tints since I heard about them – thanks! They look amazing on you! 😀
Thanks Christina! 🙂 I could come up with 9 more looks using different nail art techniques with OPI Sheer Tints. I can post some photos if you’d like to give you more ideas 🙂 These are some neat little toys and the effects they create are pretty subtle! Perfect for Spring and Easter 😉
I’d love to see more looks if you have the time and inclination! I think these are must-buys for me!
I’d LOVE to see more designs using these polishes!!!! I love this one and plan on trying it out this weekend!
So pretty. I love the look of watercolor!
Yes, me too 🙂 It’s so artsy and spontaneous! You should try it out too!
That’s a fine look . These tints seem perfect for Easter and Easter egg art.:-)
Yes, that would be a clever and elegant Easter nail look without going too cartoonish or literal 🙂 Great idea!
Wow what a great nailart!
Thanks a lot for your kind words 😉 It’s easier than you think!
Pingback: Nail Art Ideas with OPI Sheer Tints | Phoenix Beauty Lounge
Pingback: Phoenix Beauty Lounge
Pingback: OPI Sheer Tints våren 2014 | Pssion skönhetsblogg
Pingback: OPI Sheer Tints | Glittertips
The designs are all amazing, the colors being used are very light in the eyes and not bold. I would definitely try them all and OPI are really great for finished nail art designs.
Pingback: Nail Art: Watercolor tutorial | popandcraft