
#YoureWelcomeWednesday Beauty University: Soak off gel tips
1. Shake all the soak-off gel bottles well before application. Before you begin doing your gel manicure, give all your bottles of gel base coat, top coat and color a good shake. By their nature, all soak-off gels tend to separate into layers inside the bottle, which is impossible to see because the bottle has a solid color coating. If you don’t shake and wake up your gels, you will be using just the bottom section of the potentially separated layers, so the color and application will be uneven.
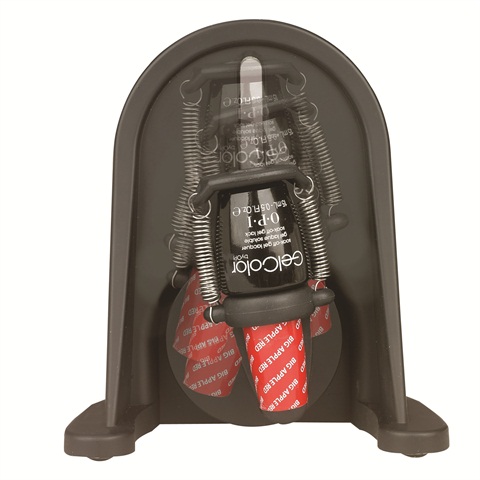
The Shaker by Izen is a mechanical gel-polish bottle shaker recommended by OPI
2. Do a dry manicure. Specifically before you apply soak-off gel, push back your cuticles without soaking your hands in warm water or using cuticle oils, since they tend to penetrate the nail surface and can cause not only lifting, but can also lead to bacterial growth underneath the gel. CND CuticleAway is ideal for this purpose, since it’s an cuticle exfoliating gel that doesn’t require water. If you still had to use the oil or water, remove all the residue by washing your hands well with soap and water and going over your nail surface with CND Scrub Fresh. Make sure you also deep clean the nail plate near the sidewalls to avoid premature lifting from the sides.
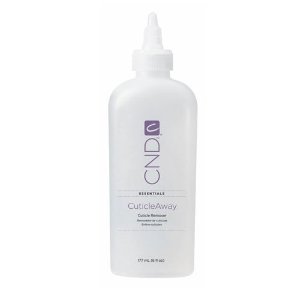
CND CuticleAway
3. Use CND Scrub Fresh to dehydrate, sanitize and remove the oils from the nail plate. CND Scrub Fresh is an amazing prep product that will deep clean the nail surface to make your gel manicure last a lot longer. Use light pressure when scrubbing your nails with a lint-free cotton pad saturated with CND Scrub Fresh with around the same pressure and time as you would use to remove your red nail polish. At least 30 seconds for each nail. CND Scrub Fresh does extend the wear of your soak-off gel and it’s a number one trouble-shooting product, even if nothing else seems to help. 99% of soak-off gel woes can be solved with CND Scrub Fresh, so be sure to get used to it!

CND Scrub Fresh
4. Apply Base Coat evenly on the entire nail surface. Please be careful not to leave bare spots on the nail, since the gel color coats will only stick where the base coat was applied. Missing a few spots with your soak-off gel base coat is a common reason for early lifting. So even though the base is clear and it’s tempting to go fast, still be careful to cover the entire nail.
5. Cure Base Coat for 10-30 seconds. Contrary to popular belief, base coat needs to be cured for a much shorter time than all the other coats. The reason behind that is that soak-off gel base coat needs to be cured “sticky” and wet to the touch, and not cured “solid”. Stickiness of the base coat will promote the adhesion of the color coat to the natural nail, so make sure you follow manufacturer’s instructions on time of curing your base. On average it’s between 10-30 secs.
6. Cure each coat for 2 minutes. Likewise, it’s important not to keep your color coat and top coat in the UV or LED lamp longer than necessary. Don’t overcook your soak-off gel and you will have a longer-lasting manicure without any shrinkage at the tips. For best results, look up curing times at the manufacturer’s website. Most likely it will be 2 minutes for color coats and 2-3 minutes for the top coat.
7. Apply thin even coats of soak-off gel. Gel needs to be applied in thin coats to promote even cure and to avoid pooling and wrinkling of the product. Don’t try to reach full opacity with the first coat of gel color, since the UV light may not be able to penetrate the thick layer and not cure it properly. There’s a saying in the nail industry that for the first coat of color “If you’re seeing something streaky, you’re doing something right!”
8. Cap the free edge. Make sure you go around the tip of the nail with every single coat of soak-off gel products. This will make sure that the area with the highest shock impact from everyday life will have enough structure to resist chipping.
9. “Squeegee off” the excess gel with the gel brush to avoid air pockets and uneven nail surface. If you accidentally applied too much product, fix your mistakes right away using the flat stiff gel brush – either the one built-in the bottle cap, or a regular gel brush – to even out the application and remove any excess. Also, make sure you remove gel from the skin and cuticle area before curing in the UV lamp, because gel is not designed to adhere to the skin and with the eventual nail growth, this will definitely create a “air pocket” and will cause lifting from the bottom or from the sides. With time all kinds of nasty things can accumulate inside that pocket, and the entire gel can pop off the nail in one piece (ugh!). Not to mention it will catch on hair and will be extremely annoying.
10. Apply cuticle oil over the entire nail and cuticle area. After you removed the top tacky layer with alcohol, apply a generous amount of cuticle oil right on the soak-off gel manicure and on the skin around the nail. Massage it into the nail and cuticle area and it will nourish your skin and will make the gel manicure more flexible and act as a natural shock absorbent. So remember to apply your cuticle oil daily before you go to bed to achieve a long-lasting soak-off gel manicure and healthy nails.
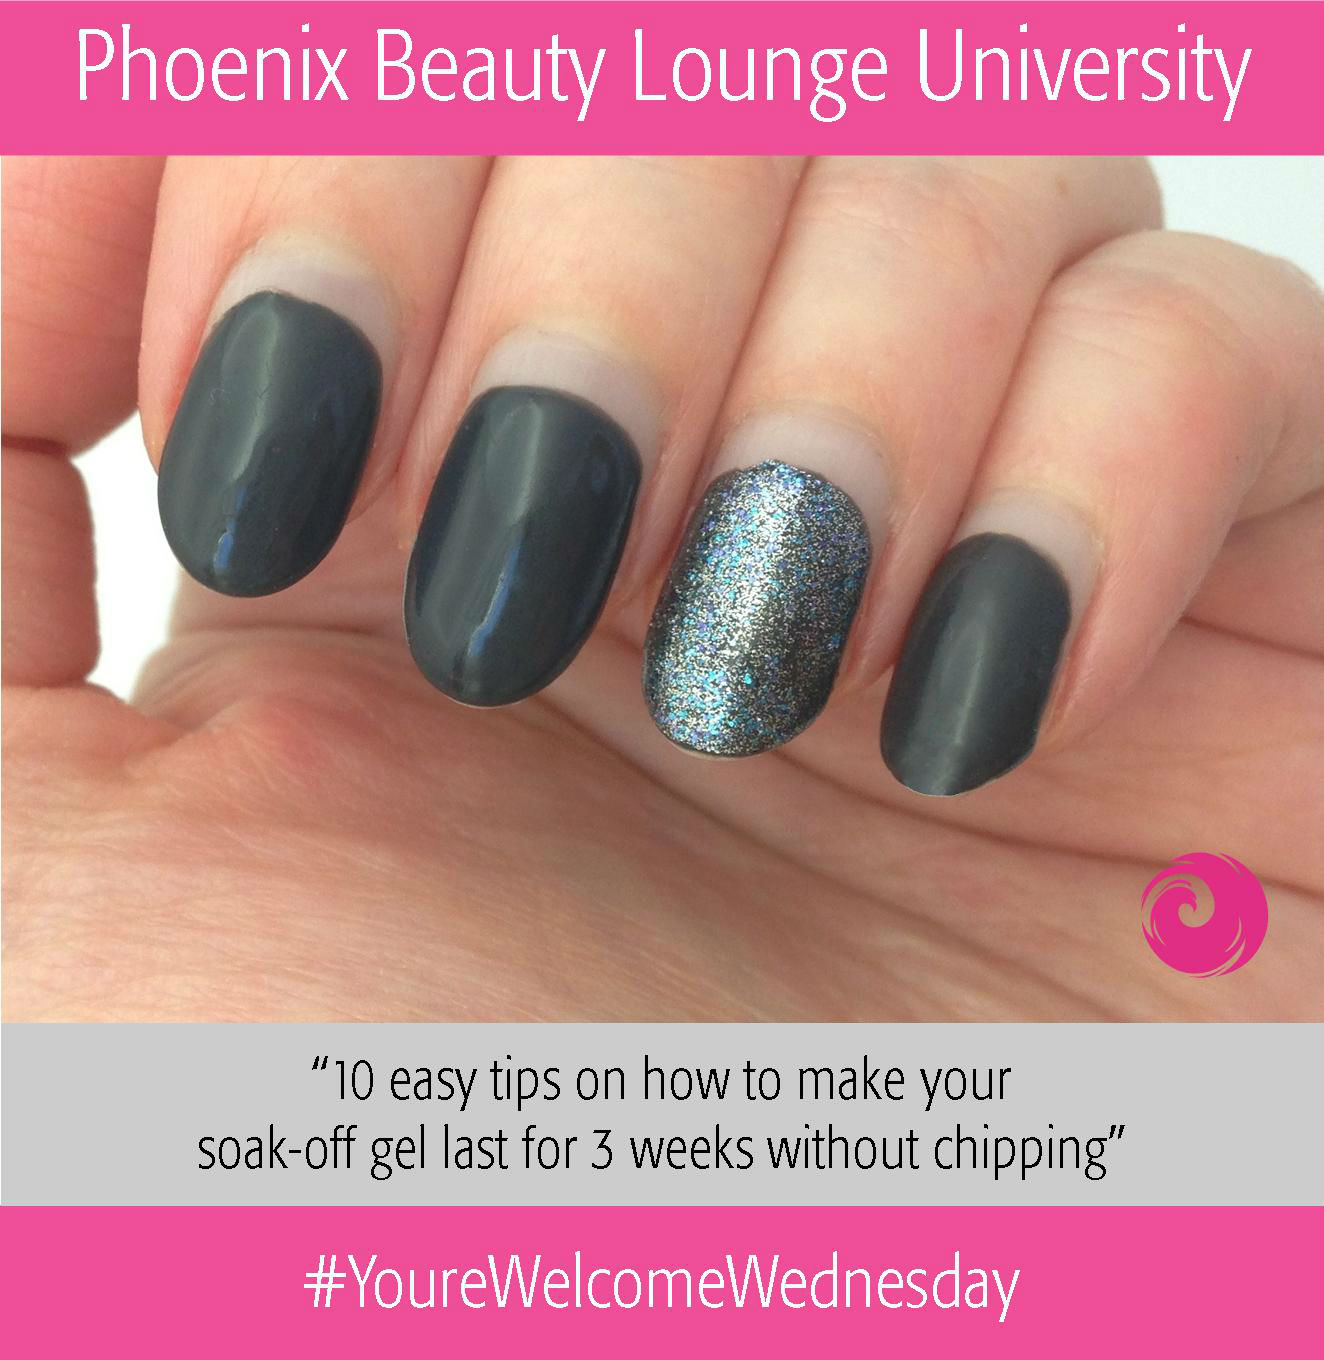
Soak-off Gel Manicure After 3 Weeks of Wearing
Mani #1: CND Shellac in Asphalt with a coat of OPI Shine for Me glitter on accent nail applied on top of CND Shellac Asphalt and sealed with gel top coat
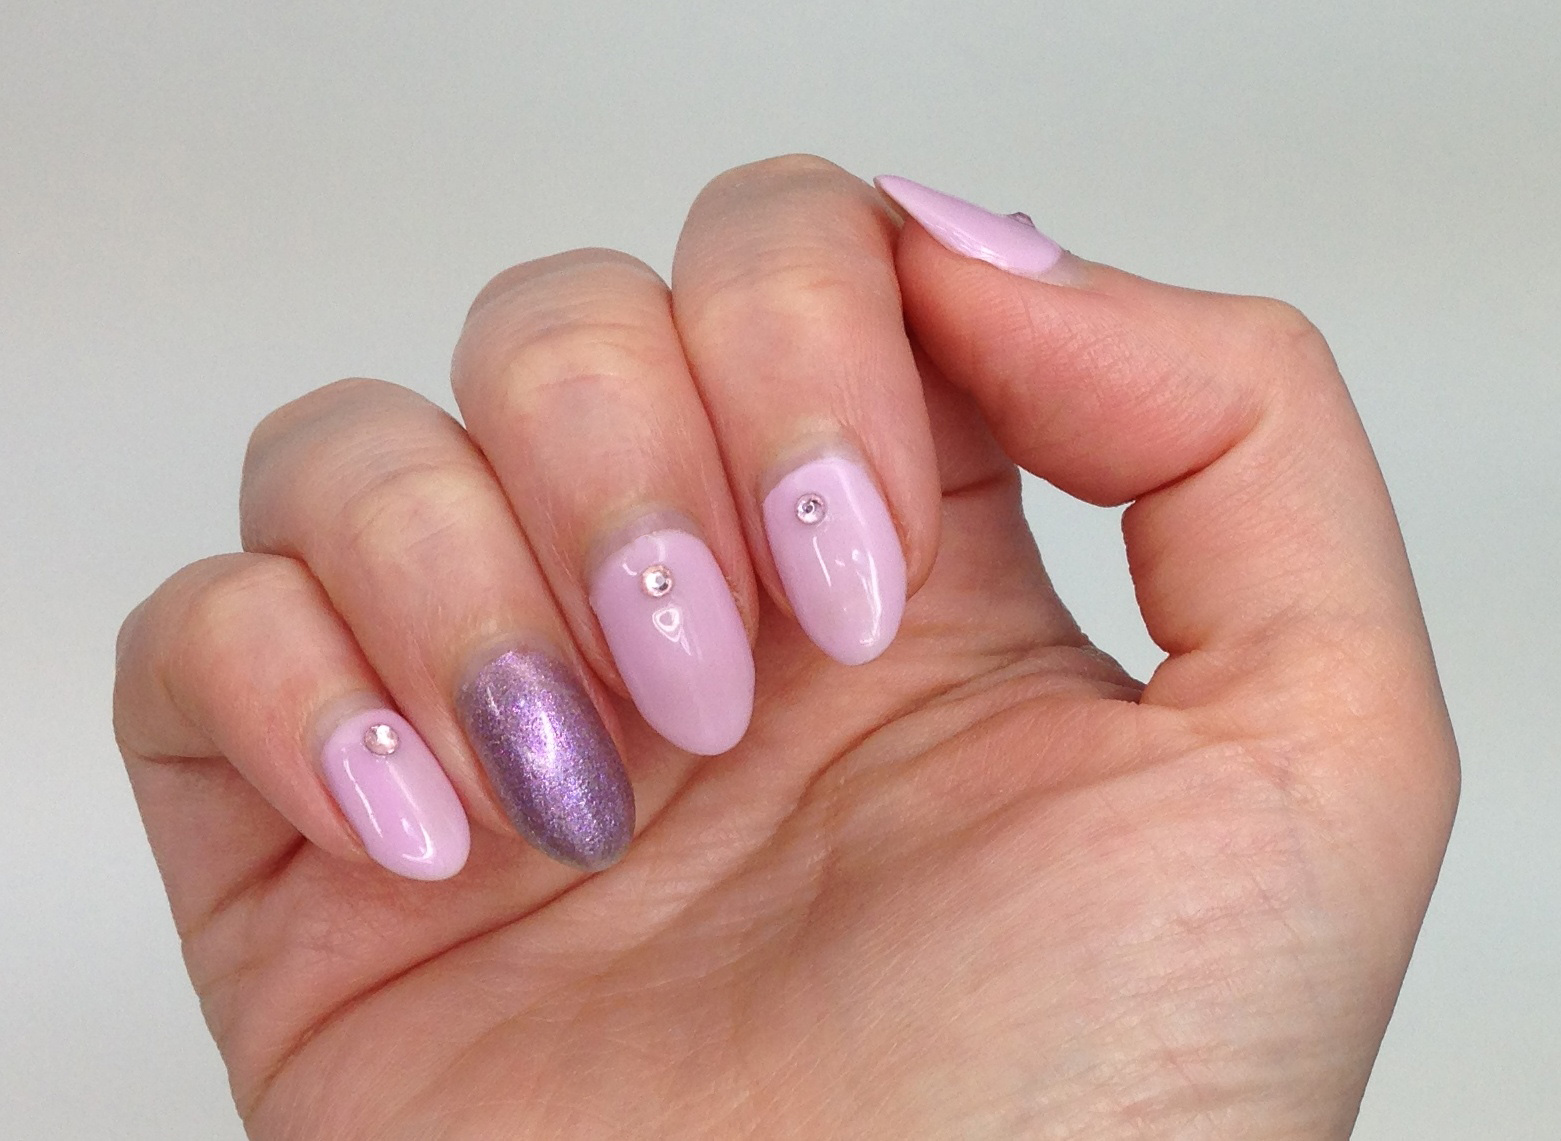
Mani#2: Gel Two in Lilac with accent nail of OPI GeColor Next Stop the Bikini Zone and embellished with rhinestones.
Finally you were able to find that mistake you were doing unknowingly and your beautiful gel mani stays on until you find time to soak it off? 🙂 Well then, you’re more than welcome!
If you can swear by any other gel tips, please share them in the comments below to help out your fellow gel polish addicts!
#nails #notd #nailart #nailartjunkie#nailartaddict #naildesigns #nailsaddict #notpolish#nailpro #nailtechs #nailgame #nailporn #nailswag#instanails #nailartist #nailedit #nailsmagazine#nailpromagazine #nailsofinstagram #nails2inspire#gelnails #gelnailart #japanesenails #japanesenailart#nailsofinstagram #instanails #handpainted#nailprodigy #toronto #quality #geltroubleshooting #soakoffgel #GelPolish #ZeroLifting #YoureWelcomeWednesday #PhoenixBeautyLoungeUniversity

Pingback: CND Shellac Step By Step Instruction + Nail Art | Phoenix Beauty Lounge