
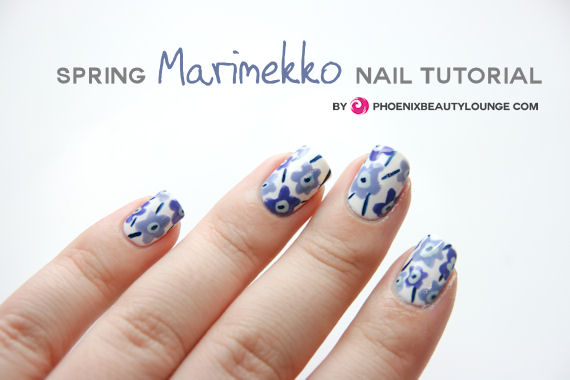
Hi everyone! Today we have another nail art tutorial for you. This nail art manicure is perfect for Spring and Summer, featuring this years Spring shades by OPI and China Glaze. This time the skill level is for intermediate nail painters, but beginners can leave out a few of the more intricate steps and still have a great result. Let’s take a look!
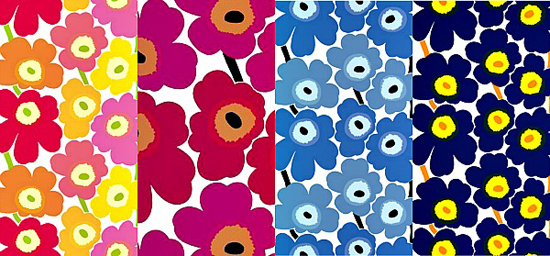
Doesn’t it look beautiful? We love Marimekko fashion prints. They are so inspiring and simply perfect for a Spring-themed manicure. The image below shows our inspiration for this manicure. These are four prints by Finnish design company, Marimekko. Their signature style is bold graphic prints with bright colours. They are distinctive and very recognizable.
Now let’s take a look at our step-by-step tutorial shall we?

- Start with a base colour. We’re using two coats of a plain white, OPI Alpine Snow.
- With a detailer nail art brush create five-petal flowers in random places. We’re using a lovely periwinkle blue from the China Glaze Spring collection, China Glaze Fade Into Hue. Make sure to leave open some spaces since we’ll be adding more flowers in another shade! If you wish, you can stop here and add top coat. Or you can add some of the finishing details in the next few steps. It’s entirely up to you!
- Fill in the gaps with more five-petal flowers. We’re using another shade from the China Glaze Avant Garden collection, China Glaze Fancy Pants. You can add “half” flowers that fall off the edge of your nail so it looks like the pattern is continuous.
- With a lighter color blue, add a dot in the center of each flower. We’re using China Glaze Keep Calm, Paint On which is a lovely pale mint green. For easy dots use a dotting tool!
- Using a dark blue shade, add tiny dots in the middle of the dots we just placed. We’re using OPI I Saw… U Saw… We Saw… Warsaw. This is the finishing touch to the flowers! Aren’t they looking great?
- With the same dark blue and a liner nail art brush, add stems in between the flowers. This is a little tricky, as you have to make sure the lines are very thin. This will give you the best result! Try to barely touch the nail and just let the brush flow across to form a line.
Add top coat and you’re done! We recommend Seche Vite for ultra-fast drying results and a dazzling shiny finish.
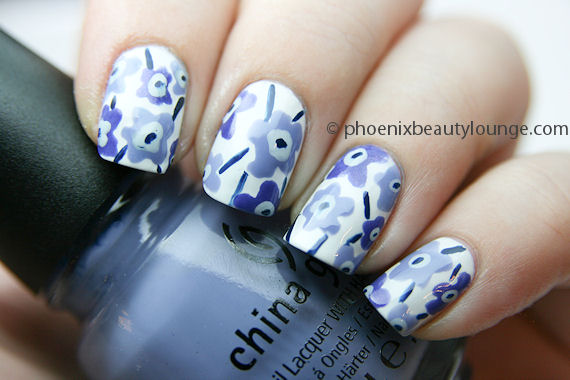
And here we have it, the final result! Looks great, right?! It’s such a bold design and it looks really effective on the nails too. People will be amazed that you painted it by hand!
If you try out this design after seeing our tutorial, make sure to let us know by leaving a comment or posting your picture to our Facebook page. We’d love to see what you make of this Marimekko print. Thanks for checking out our tutorial and happy painting!
