Phoenix Beauty Lounge University

Welcome Back to our Phoenix Beauty Lounge University!

Are you ready to learn one more easy makeup trick that will make your face appear more friendly and approachable?

The thing with these tricks is that once you learn and “see” the visual difference they make, you cannot “unsee” them. You will be noticing the effects of “right” and “wrong” on all the photos in the magazines, the strangers on the bus and all your friends and family members. But promise me that the first person you will apply them to will be that one in the mirror.

Tip #6

YoureWelcomeWednesday Beauty University: Instant Lip Lift

YoureWelcomeWednesday Beauty University: Instant Lip Lift

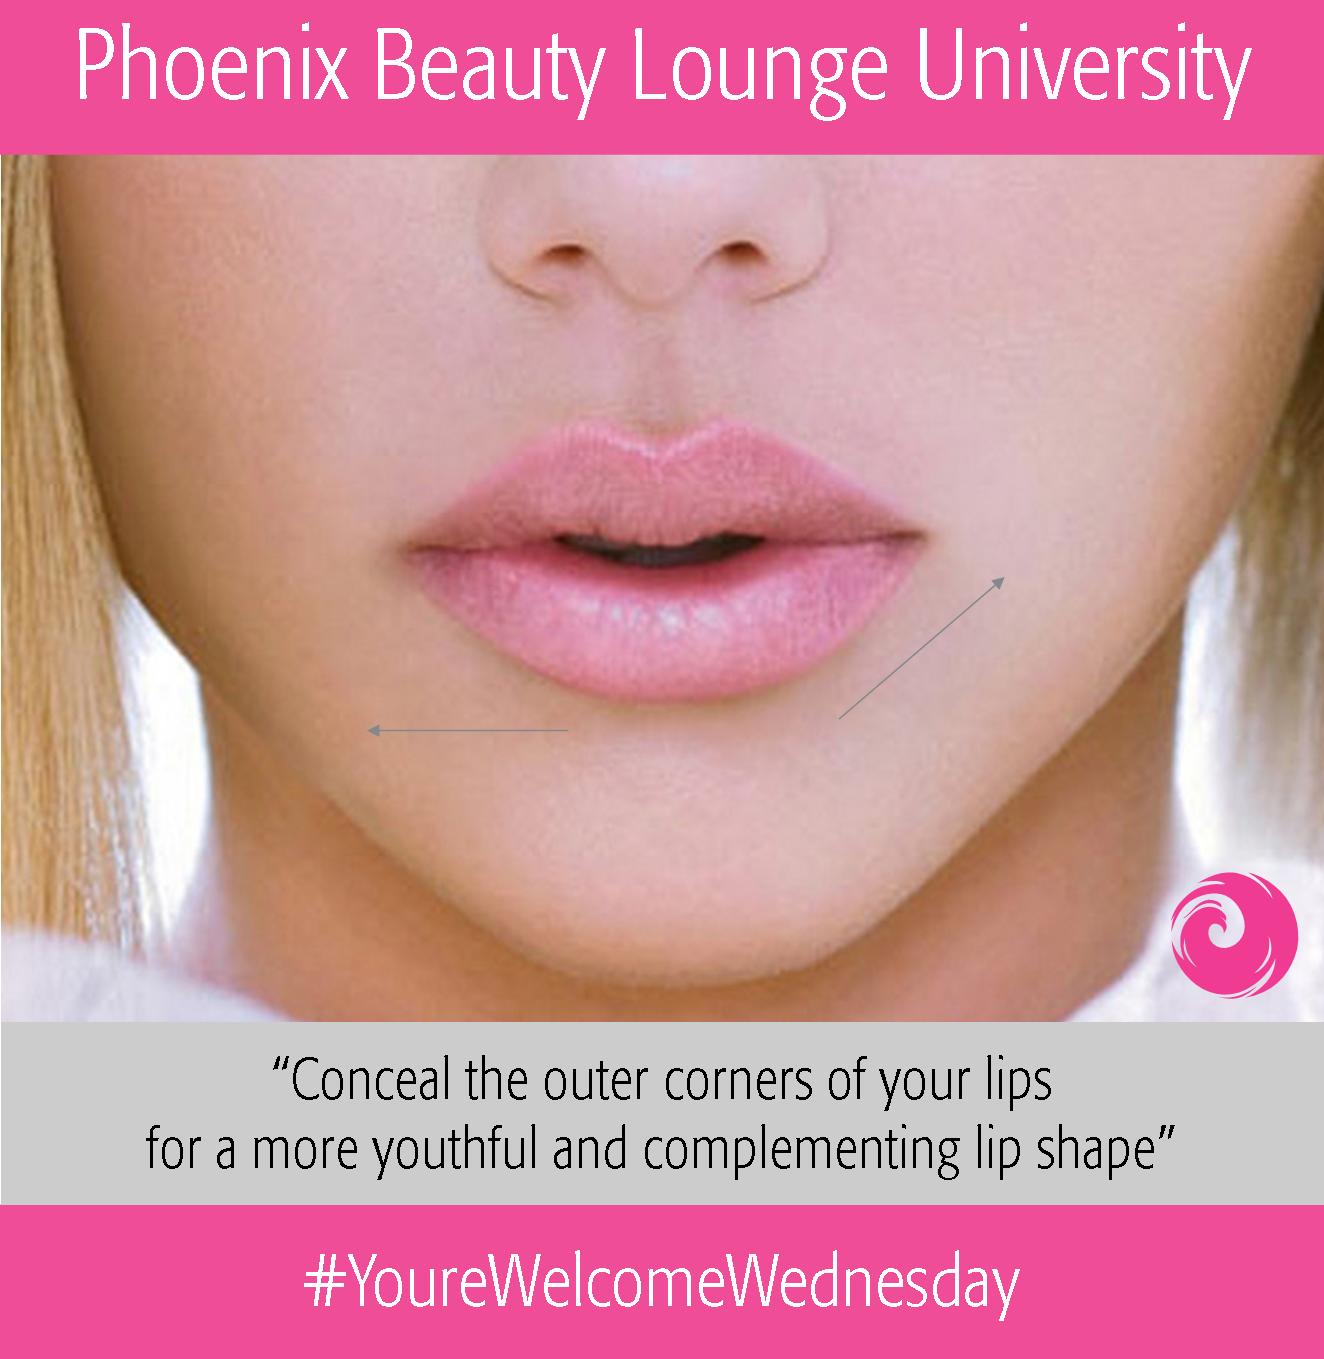
“Conceal the outer corners of your lips for a more youthful and complementing lip shape”

The corners of the lips is one area we rarely pay attention to, but in fact it’s one of the facial features that can take your overall look from looking “upset” to “welcoming” in seconds.

Even though you may not have downward lip corners naturally, they tend to have redness, discoloration or some kind shadow for most people. And they may eventually sag with age as skin looses it’s tightness and tone.

Concealing the outer lip corners and even adding some subtle highlight to this area will instantly bring a potential “resting bitch face” to its more friendly, almost smiley version. And quite possibly will rewind your lips to a few years back. And who wouldn’t like that?

Definitely apply this subtle lip correction technique next time you do your concealing. Does your resting face look more friendly now? You’re welcome!

Please feel to like, share, comment and ask further questions is the comments below!

#YoureWelcomeWednesday #makeuptips #makeup #mua #makeupartist #PhoenixBeautyLoungeUniversity #beautytips #lipmakeuptips #perfectlips #lipcontouring #lipshape #lipcorrection #godisindetails #restingbitchface #makeuptechniques #contouring #makeupcorrection

Halloween Makeup Galaxy Look by Ev aka Evelina

Galaxies of your mind

Galaxies of your mind

“Make your heart match the universe and explore the galaxies of your mind…”

I wanted to give myself a challenge – learning the art of blending eye shadows smoothly. The theme for this look was inspired by a class I take in college – “The Universe”. We were learning about millions of distant galaxies, and I couldn’t help but be fascinated by anything interstellar!!

Continue reading

Mermaid Halloween Makeup Look by Ev aka Evelina

Mermaid Costume and Makeup

Mermaid Costume and Makeup

This Halloween I wanted to be something more feminine than all the kick-butt costumes I wore the previous years. I was inspired by the mystical mermaid, a beautiful half-fish half-human creature that steals the hearts of brave sailors 😉

Continue reading

Nail Art Tutorial: Polka Dots

Today we’re sharing another special Phoenix Beauty Lounge how-to with you! Last time we showed you how to create Ikat Print Nails, today we’re sharing another great beginner tutorial. This time we’ll be teaching you how to create the perfect polka dot!

Polka dots are a cute and simple design, perfect for all ages. If you’ve never tried this design before, there’s a few simple tricks that can help you to achieve the perfect pattern. After all, polka dots aren’t random! They form a uniform pattern which is easy to achieve with a few tips.

polkadots

Here’s a fun black and nude polka dot we created! We used a new OPI shade from the Mariah Carey collection, this is OPI A Butterfly Moment. A pretty pink frosty nude, paired up with a black polka dot.

The first thing you will need to make a polka dot is a dotting tool. This is a fun tool that is used for a lot of nail art designs, but don’t worry if you don’t own one (yet). You can easily replace a dotting tool by using a bobby pin, a toothpick or even a pencil! Once you’ve tried polka dots several times, I can promise you that you’ll find yourself wanting a dotting tool. They’re cheap and they make creating dots on your nails all the more fun! 🙂

How-To_PolkaDots

  1. Start by applying your base color. We’re using OPI A Butterfly Moment.
  2. The easiest way to start is by adding a dot in the middle of your nails. Use your dotting tool to place a black dot in the center of your nail.
  3. The next step is to paint several dots in a vertical row. Space them out evenly, not too close and not too far apart. Practice on a piece of paper if you are unsure at first!
  4. Now we need to add the second row. Place the dots a little to the right of the first row, and in the middle of the previous dots.
  5. Try to draw an invisible horizontal line in your head, following the dots on the third row (left) so they will be parallel to the second row we painted in step 4.
  6. Final step is to fill in the rest of the nails, we added two more final rows on either side.

Finish with some glossy top coat and you’re all done! Make sure to wait until all the dots are completely dry so you don’t smear your design. Quick tip: if you find that you smear your design easily with your top coat, try holding your brush parallel to the base of your nail. Use a very light touch and try not to touch your actual nail with the brush, only letting the top coat glide over your nails. You’ll notice that your design won’t smear as easily, or at all! Good luck!

We hope you enjoyed this tutorial on how to achieve the perfect polka dot nails! If you try them out make sure to send us pictures so we can admire your work. Who knows, we might even feature your nails on our blog!

Happy painting! – Phoenix Beauty Lounge.

Nail Art Tutorial: Ikat Nails

Hi everyone! We at Phoenix Beauty Lounge love nail art, and we are always looking to inspire our customers. This is why from now on, we will be creating exclusive nail art how-to’s, especially for you! You’ll be able to find all the supplies you need at our store, and our tutorials will range from beginner to expert level. With our help you’ll have no more excuses to shy away from trying nail art! 😀

Our first tutorial features the very fashionable Ikat Print Nails. These look amazingly intricate but are fairly easy to achieve. Let’s take a look!

ikatnails

This is how the Ikat Print looks like on the nails. Doesn’t it look great? We love this design! We chose a blue-coral color scheme but you can be as creative as you want. Anything goes! You can also switch out the white and black for a light or dark contrasting shade. The possibilities are endless!

For our design we used the following supplies:

howtoikatnails2

  1. Start by applying your base color of choice. We’re using China Glaze Aquadelic.
  2. Using your contrasting colour, China Glaze Peachy Keen in this case, add rough triangular shapes. You don’t need to use fancy nail art brushes, just use the polish brush itself. It doesn’t matter if it doesn’t look perfect! Don’t worry!
  3. With a CM white nail art striper, add white dots in the middle of each triangle.
  4. Using a CM black nail art striper, paint short vertical strokes, all around the triangles. It doesn’t have to be perfect!
  5. Repeat this step for each triangle.
  6. Finally using the same black striper, add black lines in the middle of the triangles, overlapping the white. This will bring your design together!

Finally add some top coat to seal your design. We recommend China Glaze Fast Forward for an amazingly glossy finish. You’ll be amazed at how easy this look is to achieve! If you don’t have any nail art stripers, alternative you can use a toothpick for these Ikat Print Nails. We love that this is a design doesn’t have to be perfect, it will still look great. It’s a great style for beginners who want to try something a little more intricate.

If you try this out, make sure to send us pictures! We’d love to see what you create. 🙂 And make sure to stay tuned for our next tutorial. Feel free to send us requests in the meantime! If there’s a design you would love to see us feature in a how-to, drop us a comment or e-mail!

Happy painting! – Phoenix Beauty Lounge.

CND Shellac Step By Step Instruction + Nail Art

CNDShellacHowTo

CND Shellac™ is the original and only Power Polish service, with 14+ days of superior color. New, patent-pending UV3 Technology combines the ease of nail polish with the performance of gels. A true innovation in chip-free, extended wear nail color.

Today we’ll be sharing a step-by-step tutorial on how the CND Shellac™ system works. In this post you’ll learn how the application process works, from start to finish! Let’s take a look…

CNDShellacHowTo1

STEP 1:
Natural Nail Prep

  • Shape your nails with a nail file.
  • Push back your cuticles.
  • Wash and sanitize your hands.
  • Clean nail plate and remove excess oils.

Phoenix Beauty Lounge Tips: Starting with a clean surface will make sure the Shellac polish stays on for the full 14 days. These steps are important to make your manicure long-lasting and flawless! Use a lint free wipe to clean your nail plate and be very gentle when handling your cuticles.

CNDShellacHowTo2

STEP 2:
CND Shellac UV Base Coat Application

Phoenix Beauty Lounge Tips: The thinner the better! This is key with gels. Unlike nail polish where you can add a more generous layer, with CND Shellac you want to apply very thin layers. This will ensure correct application. The CND Shellac Base Coat only needs to be cured for 10 seconds, so keep that in mind. Even though UV lamps are NOT harmful to the skin, there’s no need for unnecessary prolonged exposure.

CNDShellacHowTo3

STEP 3:
CND Shellac UV Color coat application

  • Apply one thin coat of CND Shellac Color. We are using CND Shellac Cocoa.
  • Cure under UV lamp for 2 minutes.
  • Apply a second coat of CND Shellac Color.
  • Cure under UV lamp for 2 minutes.

Phoenix Beauty Lounge Tips: Your color also needs to be applied in thin layers. When applied correctly, it will look semi-sheer. Don’t worry, this evens out after the second coat. The color is cured for 2 minutes. Apply color to one hand at a time. If you are working on someone else, you can continue painting while one of the hands is under the UV lamp.

CNDShellacHowTo4

STEP 4:
CND Shellac UV Top Coat Application

  • Apply one thin layer of CND Shellac UV Top Coat.
  • Cure under UV lamp for 2 minutes.
  • Remove top film with 99% Isopropyl Alcohol.
  • Apply cuticle oil to all fingers.

Phoenix Beauty Lounge Tips: To ensure maximum wear, you need to apply a UV gel top coat. This will make your nails look extremely shiny! Make sure to cap the free edge of the nails to make them last even longer. Once you are finished, CND Shellac will be strong and hard from curing. No need to worry about denting your fresh manicure! Remove the sticky inhibition layer with a lint free wipe and 99% Isopropyl Alcohol. Make sure to add some nourishing cuticle oil to the nails when you’re finished. Your nails will look stunning!

CNDShellacHowTo5

Shellac manicures don’t have to be just solid colour. In this example we added a cute leopard nail art accent finger to CND Shellac Cocoa. We used OPI Oy-Another Polish Joke and a black nail art striper for the accent nail. A great way to add a playful touch to a nude manicure! A tutorial for simple leopard nails will be featured on our blog soon, so make sure to check back!

CND Shellac is a great choice if you want your nails looking flawless for two weeks and not worry about chipping. It’s a high quality product and you can tell! The CND Shellac system won’t disappoint.

For more in-depth CND Shellac Application tips, please read our article here: https://blog.phoenixbeautylounge.com/2015/03/25/phoenix-beauty-lounge-university-10-easy-tips-for-a-long-lasting-gel-manicure/

Find the full CND Shellac system available for purchase with us at Phoenix Beauty Lounge. Happy polishing!