Welcome Back to our Phoenix Beauty Lounge University!
Here’s a professional makeup artist brow tip for much better looking brows:
Class #11
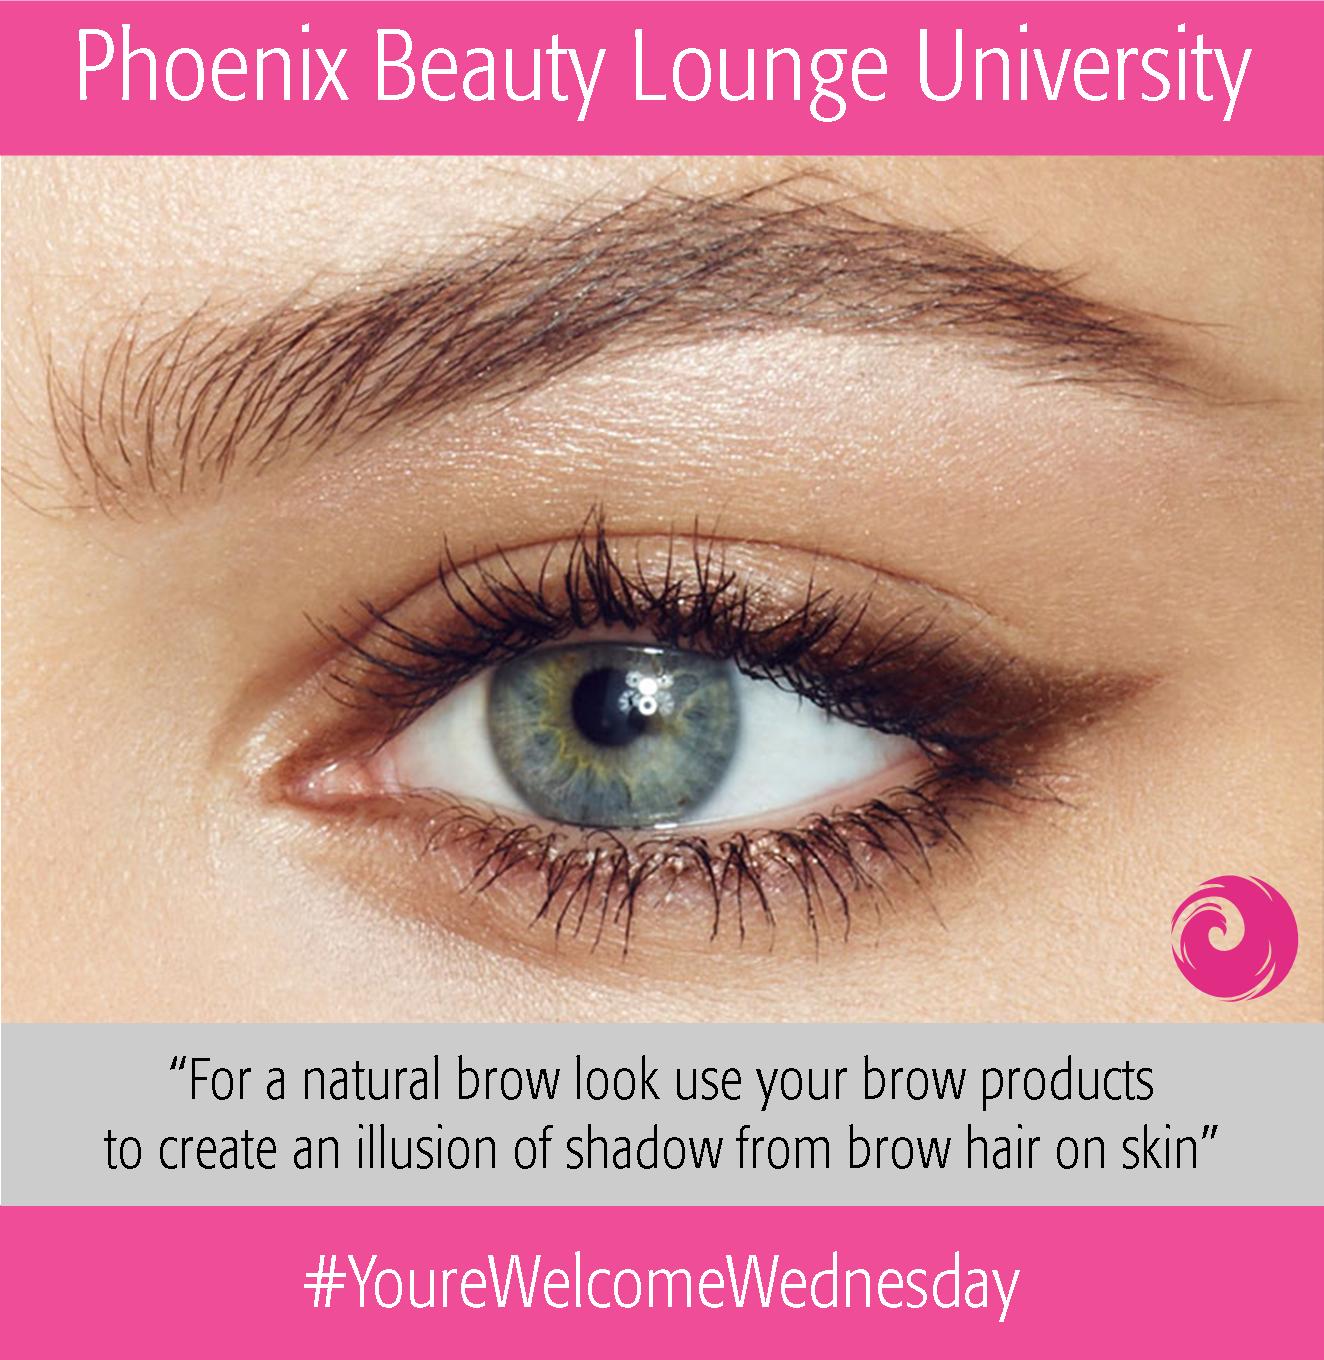
Phoenix Beauty Lounge University: Natural Brows
“For a natural brow look use your brow products to create an illusion of shadow from brow hair on skin.”
If you’d like to add definition and enhance the look of your eyebrows without making them too fake, too heavy or too “masculine” use a light hand and a light color.
The best color to choose would be your eyebrow color but 1-2 shades lighter. The effect we are going for here is not “painting in extra brow hair”, but that of “shade” that they cast on your skin.
It will create just enough definition without overkill. This technique will make brow product almost invisible during the bright light of the day, so it’s perfect for very natural yet realistically enhanced makeup looks.
Ah-ha! So now you know how to make your brows look natural without that fear of “Rubbed Face. Displaced an entire eyebrow.” kind of effect? You’re welcome!
Please share your personal beauty dilemmas in the comments below and it may get featured in our future classes!
#YoureWelcomeWednesday #makeuptips #makeup #mua #makeupartist #PhoenixBeautyLoungeUniversity #beautytips #makeuproutine #makeupschool #makeupmistakes #godisindetails #eyebrowgamestrong #perfectbrows #browtips #browsonfleek #makeuptechniques #perfectmakeup #naturalbrows #nomakeupbrows