The wait is over! We finally brought in these bad-girl nail spikes in stock and can’t wait to start using them like yesterday! 🙂
Do you already have a million nail art designs in your head you can use them for? 🙂 We certainly do!
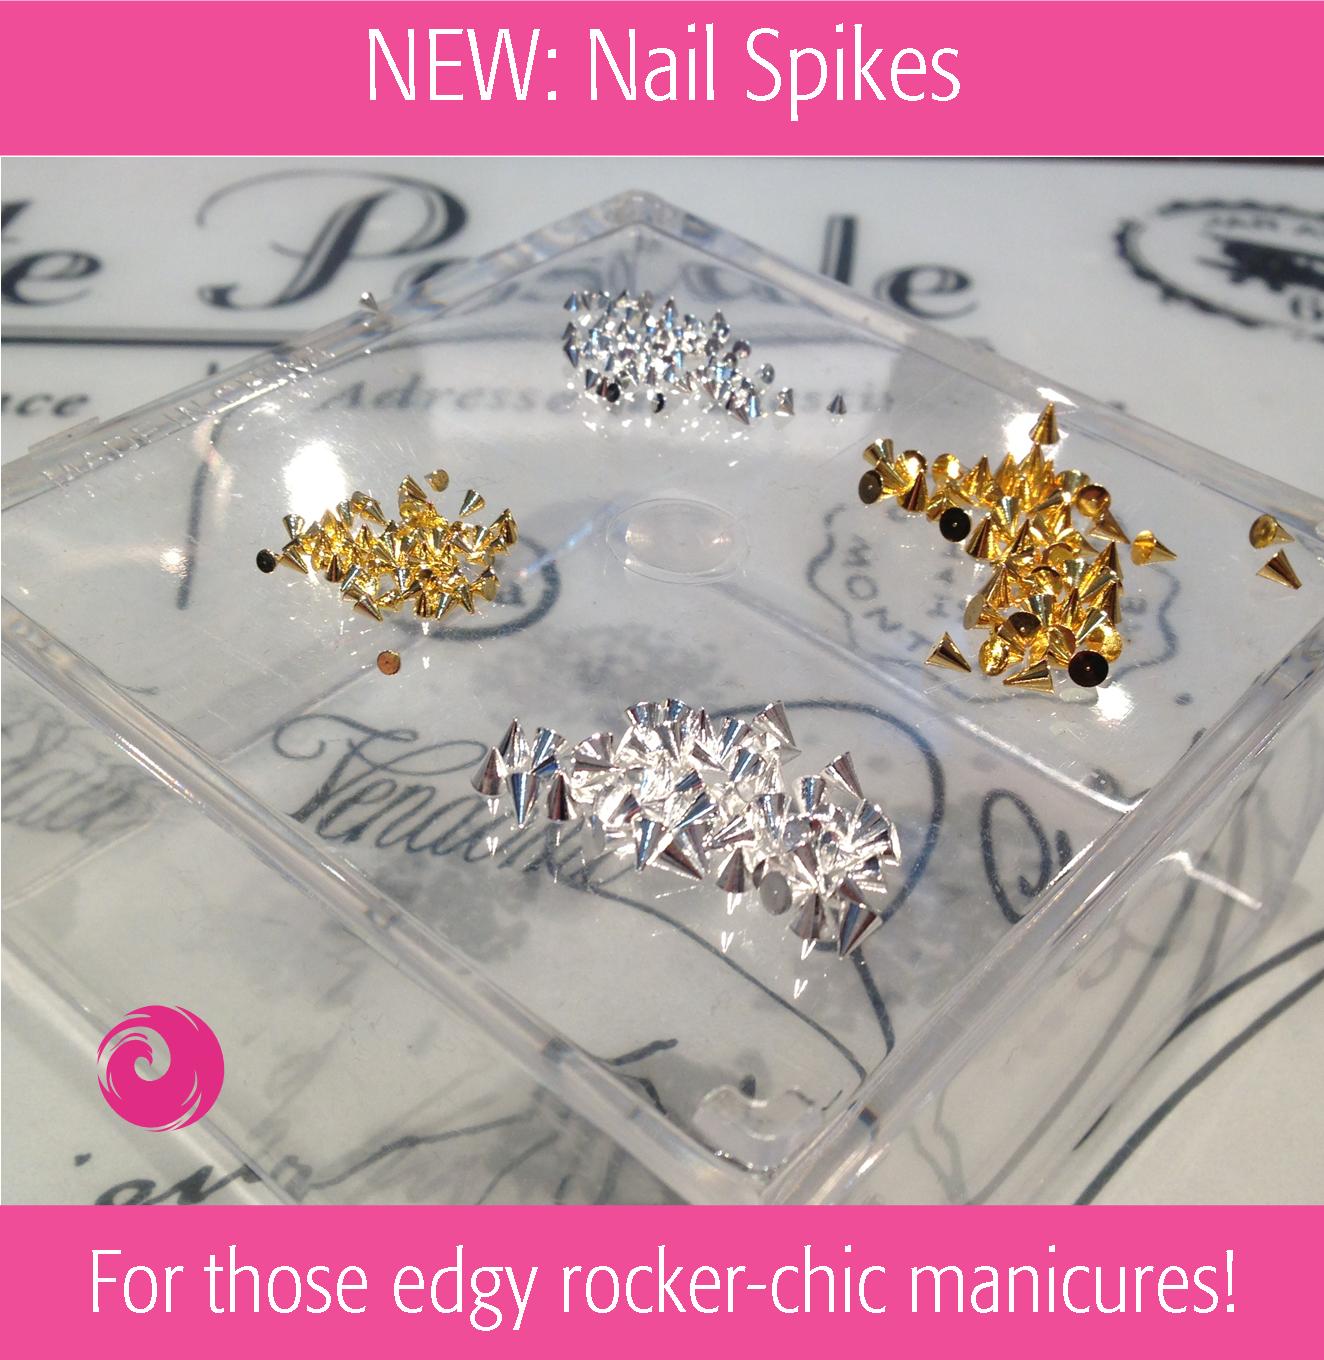
New Arrival: Nail Spikes
Just $2.50 for a bag of 50 pcs
To apply them, use the nail glue to put them on and add some clear top coat or gel around the base to secure them into place! Have fun!
#nailspikes #coolmani #nailart #edgy #cool #chic