CND Shellac™ is the original and only Power Polish service, with 14+ days of superior color. New, patent-pending UV3 Technology combines the ease of nail polish with the performance of gels. A true innovation in chip-free, extended wear nail color.
Today we’ll be sharing a step-by-step tutorial on how the CND Shellac™ system works. In this post you’ll learn how the application process works, from start to finish! Let’s take a look…

STEP 1:
Natural Nail Prep
- Shape your nails with a nail file.
- Push back your cuticles.
- Wash and sanitize your hands.
- Clean nail plate and remove excess oils.
Phoenix Beauty Lounge Tips: Starting with a clean surface will make sure the Shellac polish stays on for the full 14 days. These steps are important to make your manicure long-lasting and flawless! Use a lint free wipe to clean your nail plate and be very gentle when handling your cuticles.

STEP 2:
CND Shellac UV Base Coat Application
Phoenix Beauty Lounge Tips: The thinner the better! This is key with gels. Unlike nail polish where you can add a more generous layer, with CND Shellac you want to apply very thin layers. This will ensure correct application. The CND Shellac Base Coat only needs to be cured for 10 seconds, so keep that in mind. Even though UV lamps are NOT harmful to the skin, there’s no need for unnecessary prolonged exposure.

STEP 3:
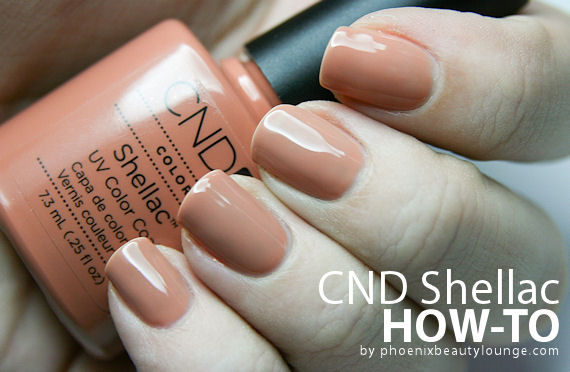
CND Shellac UV Color coat application
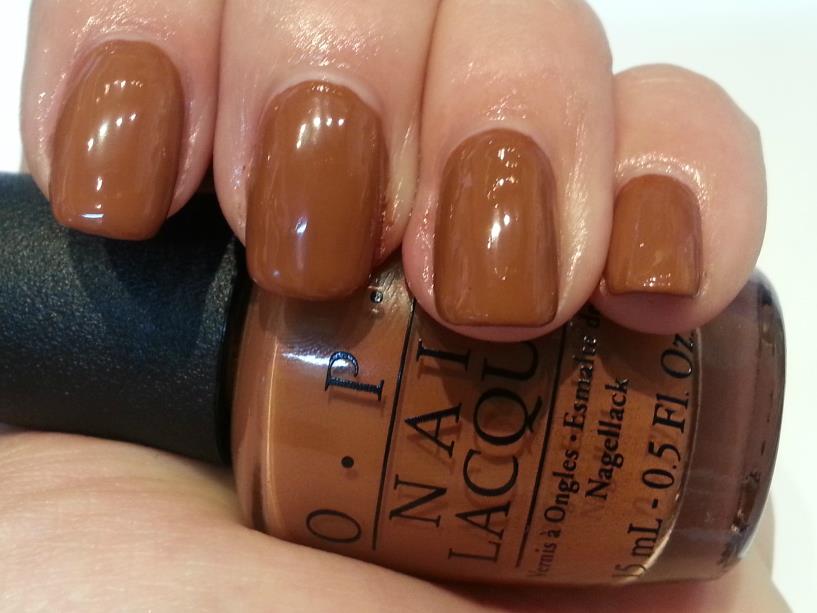
- Apply one thin coat of CND Shellac Color. We are using CND Shellac Cocoa.
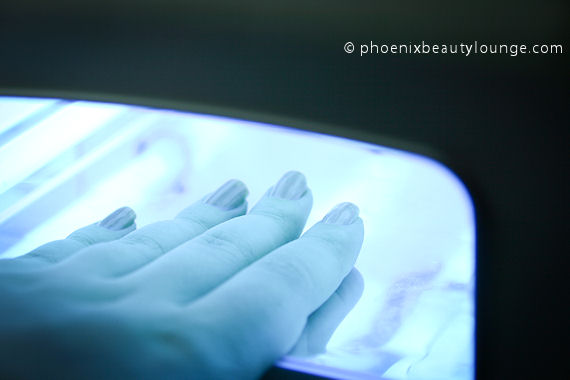
- Cure under UV lamp for 2 minutes.
- Apply a second coat of CND Shellac Color.
- Cure under UV lamp for 2 minutes.
Phoenix Beauty Lounge Tips: Your color also needs to be applied in thin layers. When applied correctly, it will look semi-sheer. Don’t worry, this evens out after the second coat. The color is cured for 2 minutes. Apply color to one hand at a time. If you are working on someone else, you can continue painting while one of the hands is under the UV lamp.

STEP 4:
CND Shellac UV Top Coat Application
- Apply one thin layer of CND Shellac UV Top Coat.
- Cure under UV lamp for 2 minutes.
- Remove top film with 99% Isopropyl Alcohol.
- Apply cuticle oil to all fingers.
Phoenix Beauty Lounge Tips: To ensure maximum wear, you need to apply a UV gel top coat. This will make your nails look extremely shiny! Make sure to cap the free edge of the nails to make them last even longer. Once you are finished, CND Shellac will be strong and hard from curing. No need to worry about denting your fresh manicure! Remove the sticky inhibition layer with a lint free wipe and 99% Isopropyl Alcohol. Make sure to add some nourishing cuticle oil to the nails when you’re finished. Your nails will look stunning!

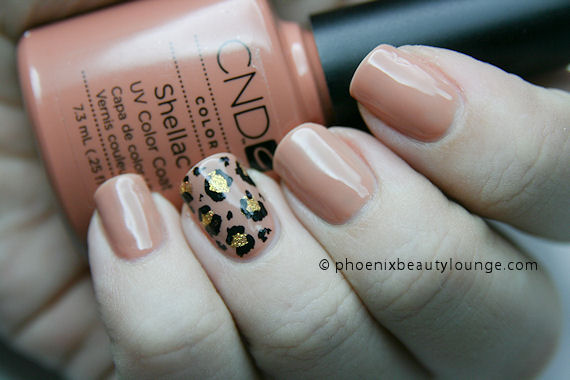
Shellac manicures don’t have to be just solid colour. In this example we added a cute leopard nail art accent finger to CND Shellac Cocoa. We used OPI Oy-Another Polish Joke and a black nail art striper for the accent nail. A great way to add a playful touch to a nude manicure! A tutorial for simple leopard nails will be featured on our blog soon, so make sure to check back!
CND Shellac is a great choice if you want your nails looking flawless for two weeks and not worry about chipping. It’s a high quality product and you can tell! The CND Shellac system won’t disappoint.
For more in-depth CND Shellac Application tips, please read our article here: https://blog.phoenixbeautylounge.com/2015/03/25/phoenix-beauty-lounge-university-10-easy-tips-for-a-long-lasting-gel-manicure/
Find the full CND Shellac system available for purchase with us at Phoenix Beauty Lounge. Happy polishing!